How to Stop Erosion From Destroying Your Gravel Driveway
Monsoon rains tearing up your gravel driveway? Learn how grading, rock choice, and drainage upgrades can stop erosion and keep your driveway stable.
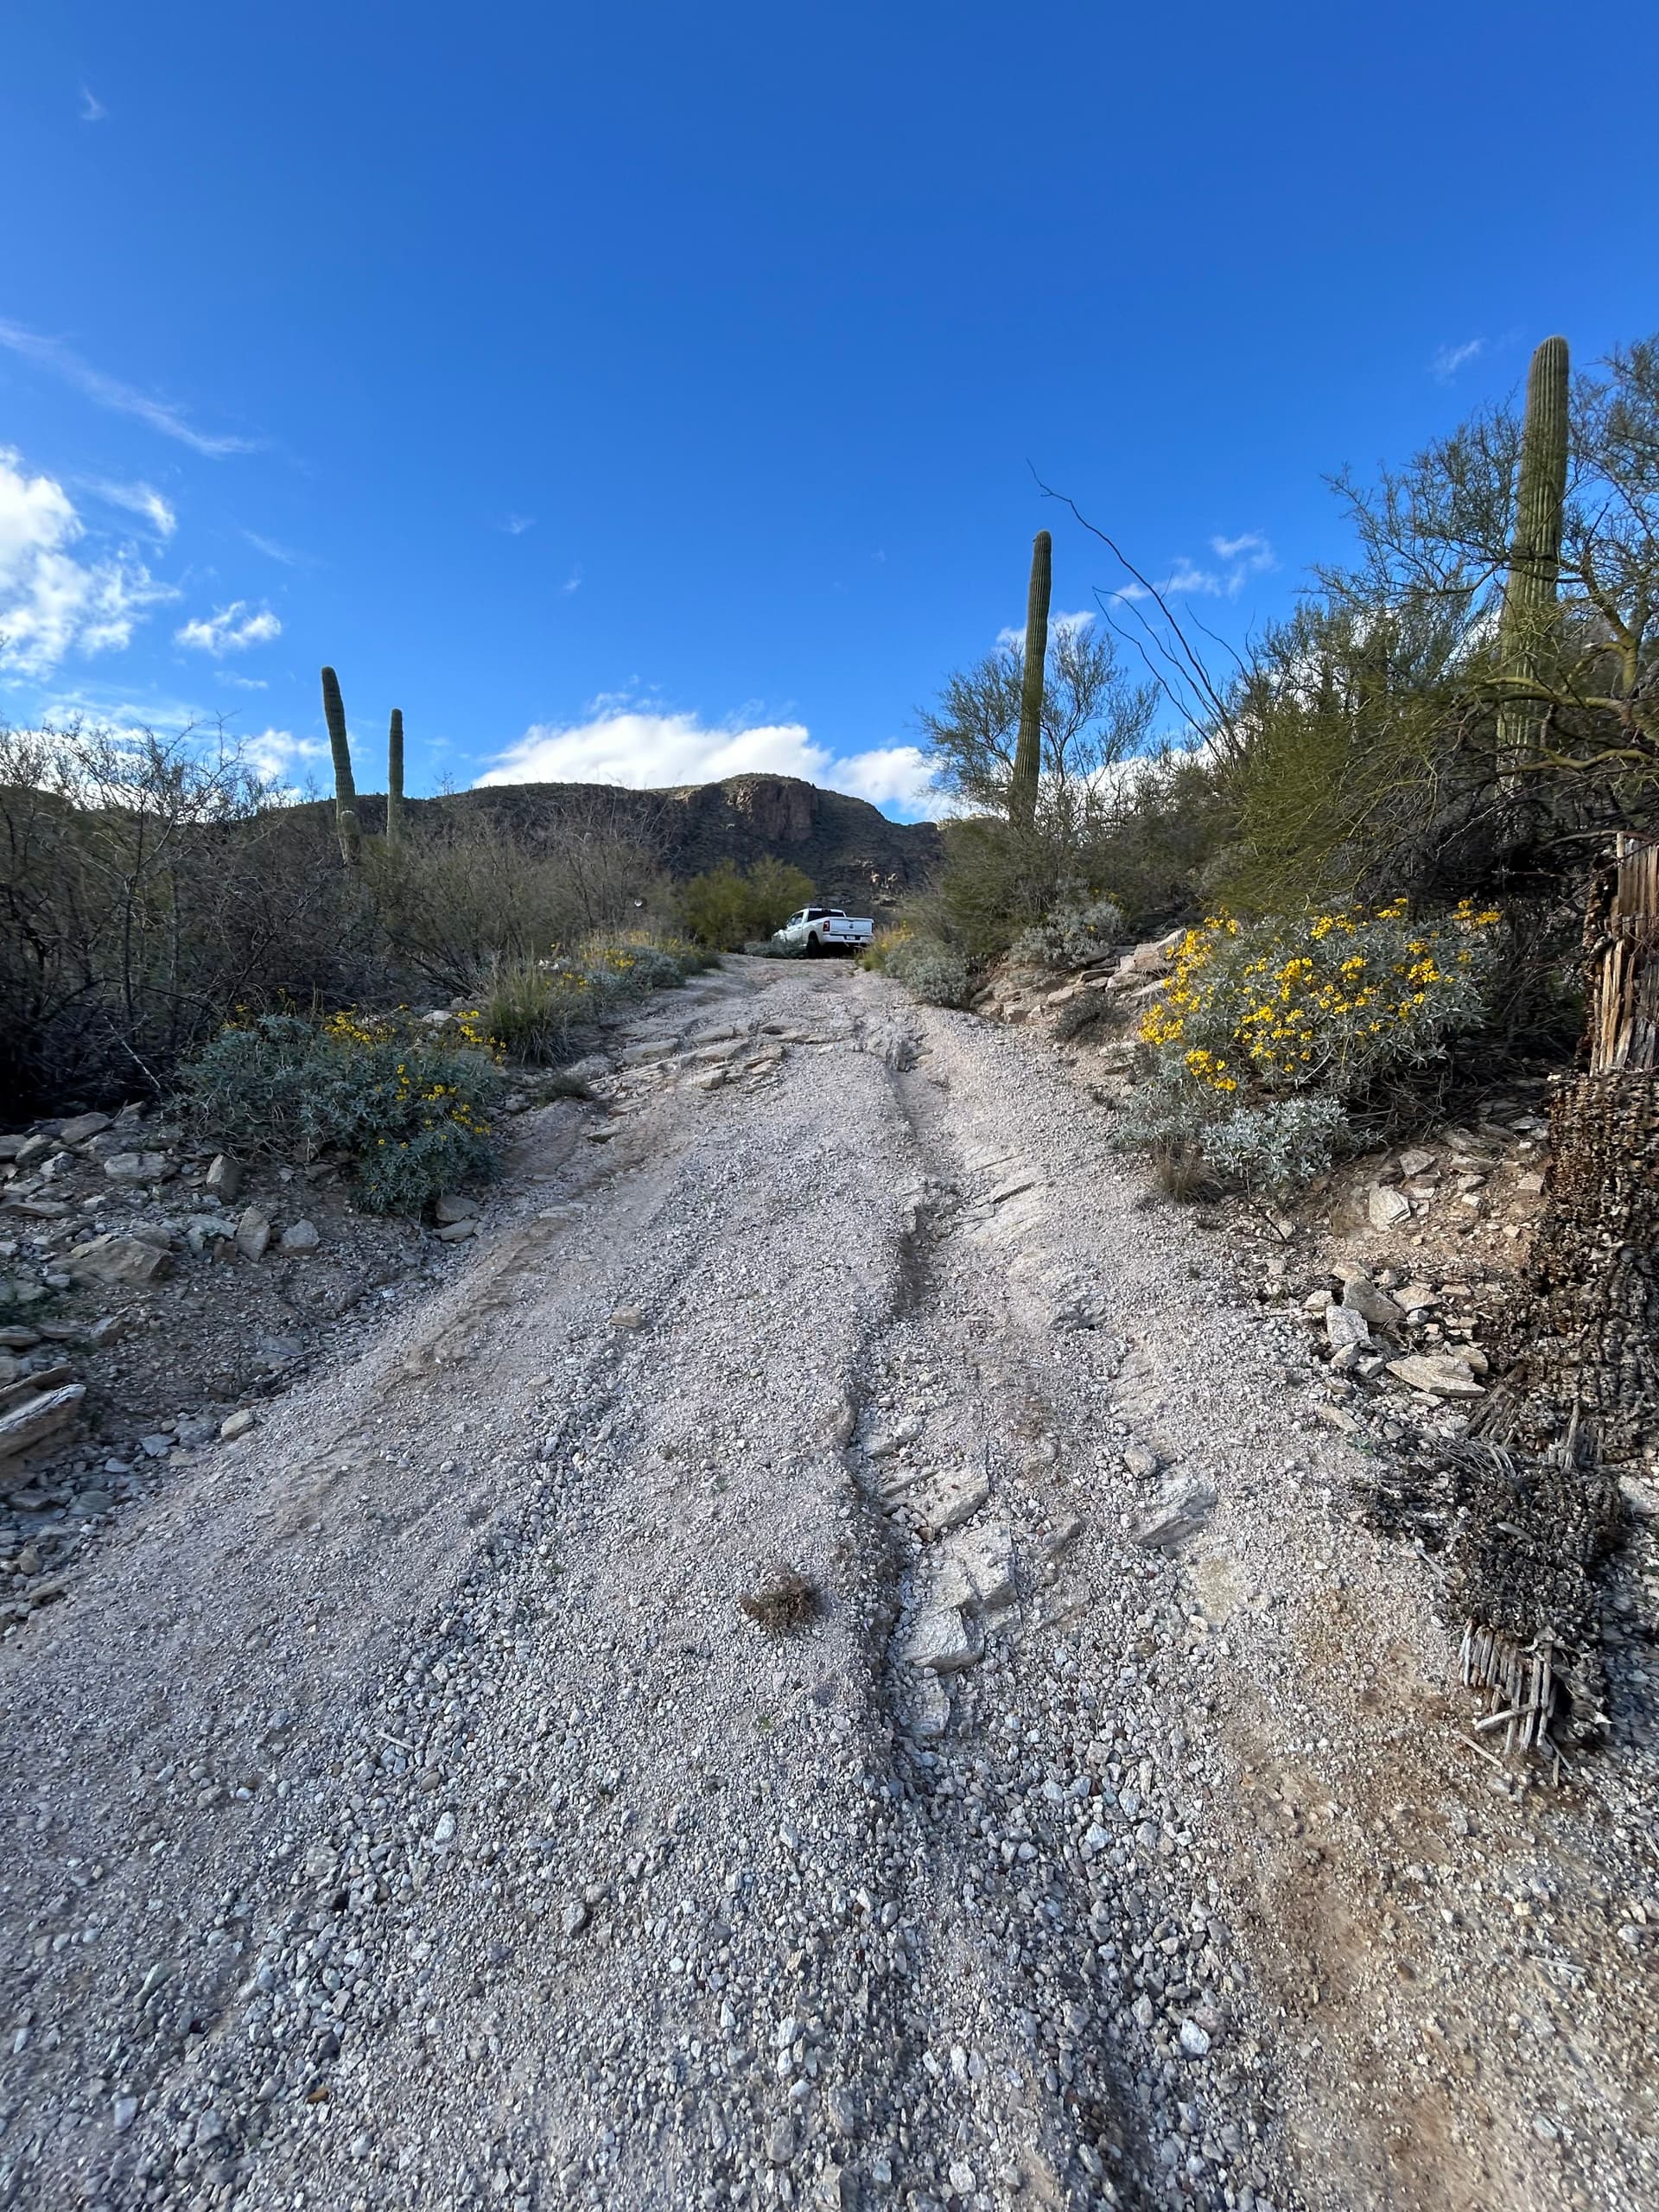
Monsoon Rains Were Tearing Up Her Gravel Driveway
We recently got a call from a customer — let’s call her Kelly — who was tired of watching every monsoon storm chew up her gravel driveway.
She told us there were long ruts and washed-out areas where the water always seemed to run. The driveway had pea gravel on it, and she liked the natural look, but between the erosion and the constant tracking of tiny stones into the house, she knew something had to change. Concrete didn’t feel right for her rural property, so she asked the same questions we hear all the time:
- “Can this erosion be fixed, or do I just keep refilling gravel forever?”
- “Do I need grading or some kind of drainage installed?”
- “Should I switch from pea gravel to a bigger rock?”
We walked Kelly’s driveway together, followed the water paths, and talked through options. In this post, I’ll share the same guidance we gave her so you can protect your own gravel driveway from erosion and runoff.
Step One: Read the Water Before You Move Any Rock
Before bringing in new gravel or heavy equipment, we always start by “reading the water.” That simply means figuring out where the water wants to go.
On Kelly’s driveway, monsoon runoff was coming off a slightly higher yard area, crossing the driveway at an angle, and then racing downhill along the tire tracks. That’s why the same sections washed out over and over.
When you walk your own driveway after a storm (or look at the dried evidence), look for:
- Ruts and channels where rock has been carved away
- Low spots that hold water or stay muddy
- High spots where gravel piles up after every storm
- Side slopes where water pours onto the driveway from your yard or road
Those clues tell you where to adjust the grade and where you might need drainage features instead of just “more rock.”
Grading: Giving Water a Better Path
Kelly was right to suspect that grading was part of the solution. A gravel driveway should have a slight crown or consistent cross-slope so water sheds off to the sides instead of running down the middle.
Here’s how we typically approach grading a washed-out gravel drive:
- Strip and reshape: Pull loose gravel back into the driving surface and smooth out deep ruts so you’re not just filling holes on top of soft ground.
- Create a crown: In the middle of the driveway, we build a gentle rise (often ½–1 inch of height per foot of width) so water runs off to both sides.
- Blend transitions: At the street, garage, or walkway, we feather the grade so there’s no trip edge or spot where water will pool.
On sloping driveways, we sometimes add a very slight diagonal pitch so water is encouraged to cross the driveway and exit at a controlled point, instead of racing straight down the wheel paths.
Rock Matters: Why Pea Gravel Washes Out
Kelly’s driveway was covered in pea gravel. It’s common and inexpensive, but it’s also one of the worst choices for erosion-prone areas.
Pea gravel is:
- Round and smooth – it rolls under tires and under flowing water
- Loose and mobile – it doesn’t “lock” together
- Easy to wash out – small pieces move with even moderate runoff
For Kelly, we recommended switching to a larger, angular rock specifically designed for driveways. If you’re planning an upgrade, look for terms like:
- 3/4" minus (or 1" minus) crushed stone – a mix of rock and fines that compacts well
- Crushed gravel (not rounded river rock) – sharp edges help rocks lock together
- Base course + top course – a larger base layer topped with a slightly smaller, tighter surface layer
The key is that the rock has angles and fines, so when it’s compacted it becomes a firm, interlocking surface that resists both traffic and runoff.
Drainage Solutions: Ditches, Swales, and Water “Escape Routes”
Even with good grading and better rock, you’ll still have problems if water is being dumped directly onto the driveway from uphill areas. That’s where simple drainage features come in.
With Kelly, we talked through a few options, depending on how much work she wanted to do and how intense the runoff stayed during storms:
- Shallow swales: Gentle, grassed or rocked channels along one or both sides of the driveway, shaped to catch runoff and carry it away from the driving surface.
- Crowns and berms: Small berms or raised edges can block water from crossing the driveway at its worst spots and redirect it into a swale.
- Cross drains or culverts: On steeper driveways, buried pipes or surface drains can let water cross under the drive instead of over it.
- Rock “spillways”: Where water must cross the driveway, we sometimes create a band of larger rock (like riprap) to armor the crossing and slow the flow.
You don’t necessarily need all of these. The goal is simple: slow the water down and give it a stable path that doesn’t involve tearing up your gravel.
Extra Reinforcement for Tough Spots
On driveways with very heavy runoff or steep slopes, we may recommend adding some reinforcement under or within the gravel layer:
- Geotextile fabric to separate the gravel from soft subsoil so the rock doesn’t keep sinking and disappearing.
- Geogrid or driveway pavers to lock gravel into a grid so it can’t migrate downhill as easily.
- Larger rock bands (2–4" stone or riprap) in targeted areas where water velocity is highest.
We don’t use these on every project, but in the right spots they can turn a constant problem area into a stable, low-maintenance section of driveway.
Simple Maintenance Habits That Prevent Big Repairs
Once we upgrade a driveway like Kelly’s, we always go over a short maintenance list so it stays in good shape:
- Walk it after big storms – catch small ruts early and rake or back-drag them flat.
- Keep swales and ditches clear – remove leaves, branches, and sediment that block water flow.
- Top-dress when needed – every few years, add a thin layer of fresh gravel and re-compact to tighten things up.
Those tiny bits of upkeep are much cheaper than a full rebuild — and they keep your driveway safer and more attractive year-round.
Not Sure Where to Start? We Can Walk It With You
If your gravel driveway looks a lot like Kelly’s did — washed-out tracks, exposed dirt, and rock scattered everywhere — you don’t necessarily need to jump to concrete or asphalt.
Thoughtful grading, the right rock size, and a few smart drainage solutions can make a huge difference. When we come out for an estimate, we’ll walk the driveway with you, follow the water, and lay out practical options that fit your property and your budget.
Whether you tackle some of the work yourself or have us handle the whole project, the goal is the same: a gravel driveway that works with the rain instead of getting destroyed by it.